Paste it into a Code embed element
It is on the plugin page in your dashboard. Paste it here and every code example on this page carries it.
The plugin page is also where you list the web addresses your form is allowed to appear on, and it will not appear anywhere you have not listed. The overview walks through getting a key.
Custom code needs a paid Webflow plan.
.webflow.io address with the custom code stripped out, so you follow every step below, publish, and see nothing, with no error to explain it. If that is where you are, use Link to the hosted form instead at the bottom of this page. It works on every plan and needs no code. Webflow’s own “Custom code embed” help article states the current requirement.This is the code. Replace vrfp_embed_your_key_here with the key from your dashboard. That is the only edit it needs.
<div data-vendorfp-proposal-form data-key="vrfp_embed_your_key_here"><a href="https://hoacrew.com/embed/w/vrfp_embed_your_key_here">Request a proposal</a></div>
<script src="https://hoacrew.com/embed/v1.js" async></script>
Two lines: where the form goes, and the script that loads it. The link inside the first line is a plain fallback for a visitor whose script never runs, cleared the moment it does. Its wording — Request a proposal — is yours to change; nothing else is affected.
Open the page in the Designer
Open your project, then the page you want the form on. Click where it should sit so Webflow knows where to put the new element.
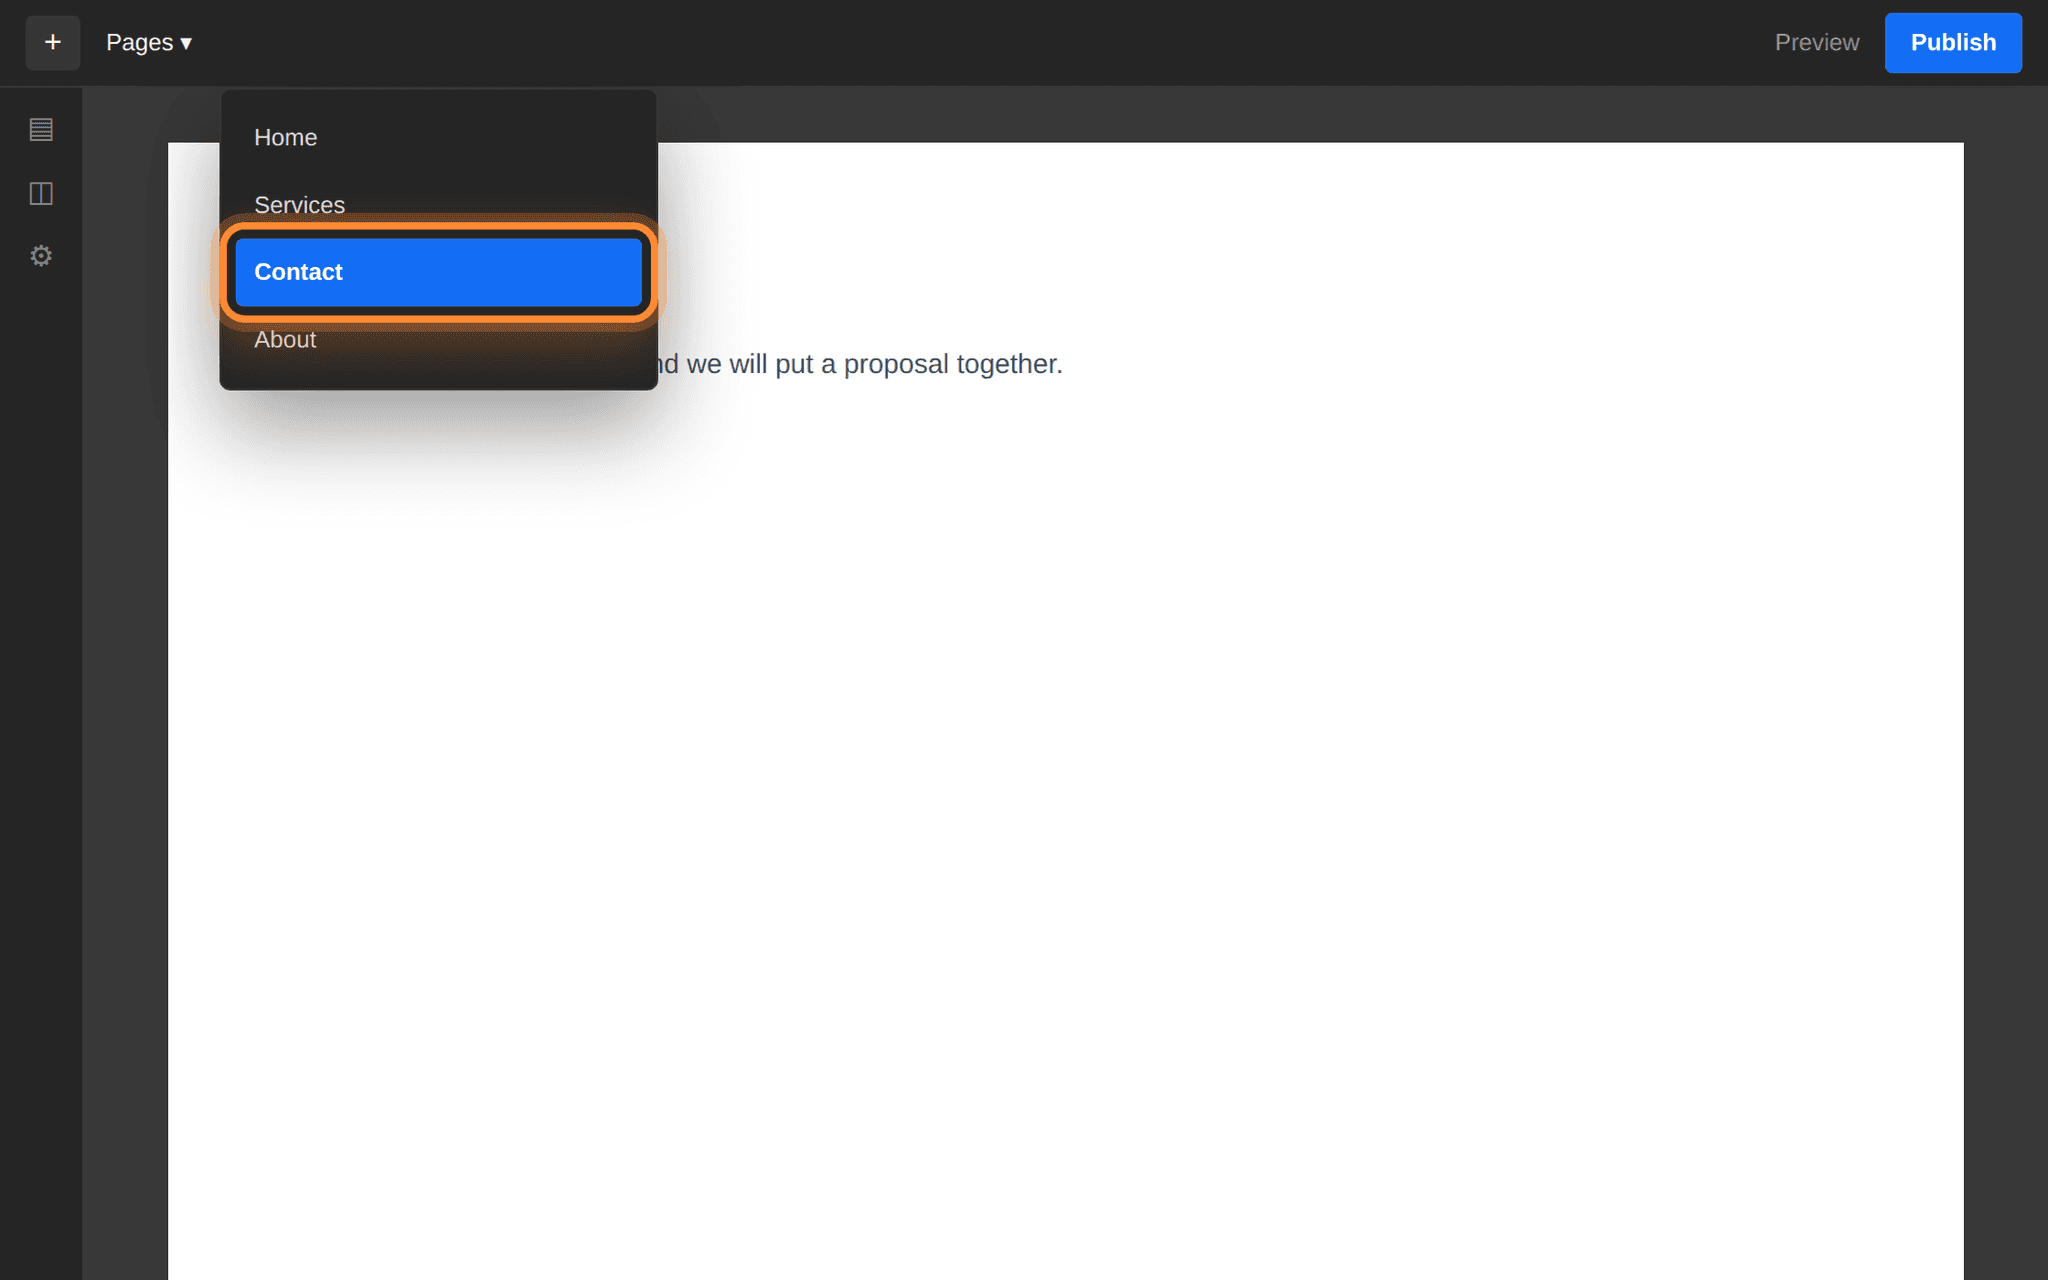
The Pages menu is beside the + at the top left of the Designer. Drag in a Code embed element
Press the + in the top left to open the Add panel, find Code embed under Advanced, and drag it onto the page. A code editor opens as soon as it lands. Older Webflow projects label the same element Embed.
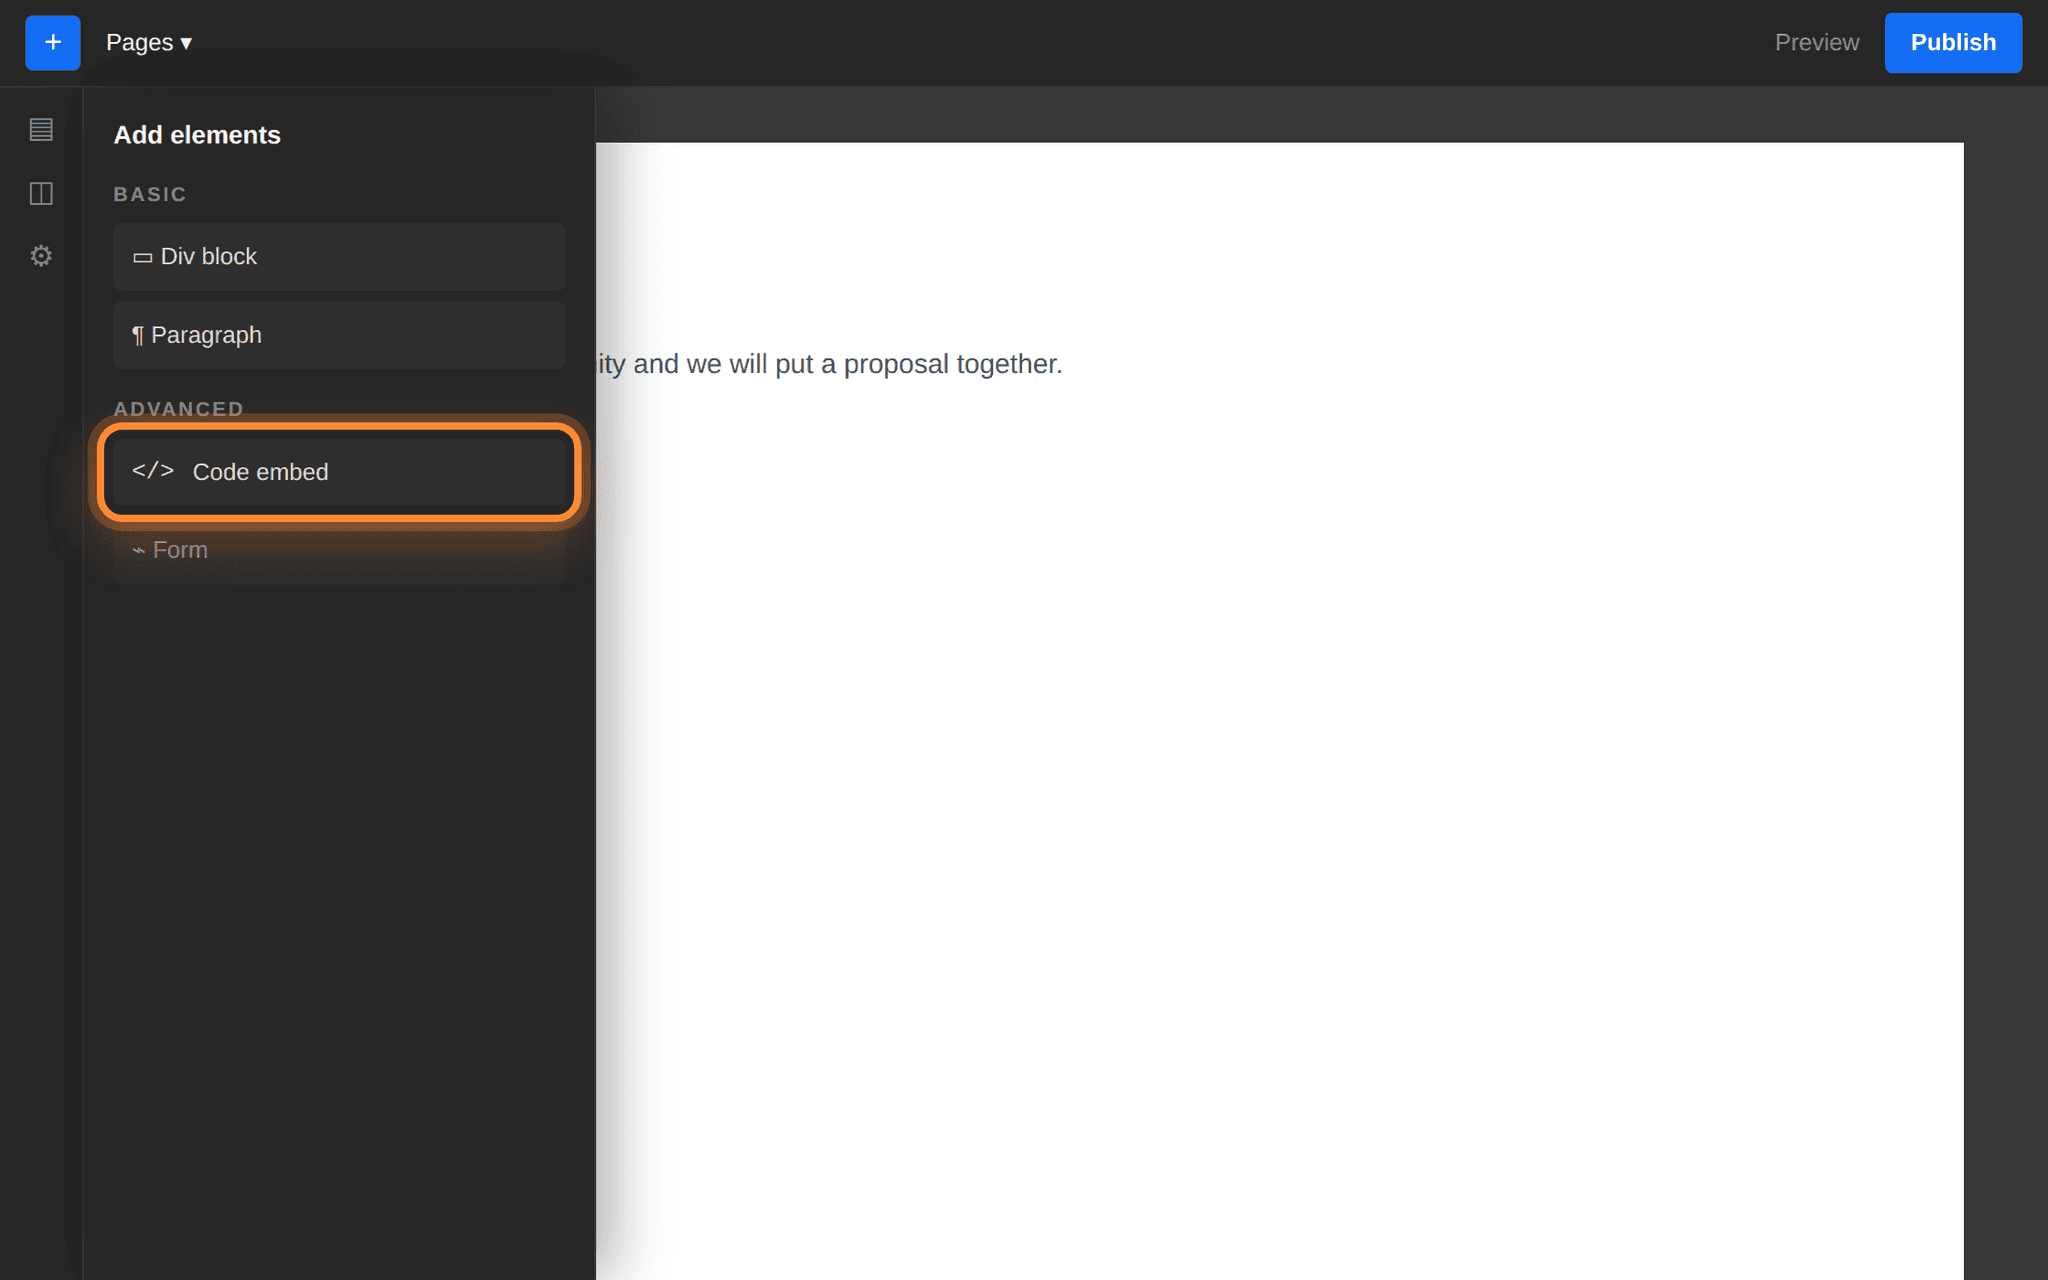
Code embed is under Advanced, below the Basic elements. Paste and save
Paste the snippet into the editor and press Save and Close. The canvas now shows a placeholder block, not the form — the Designer does not run embedded code, so that is expected.
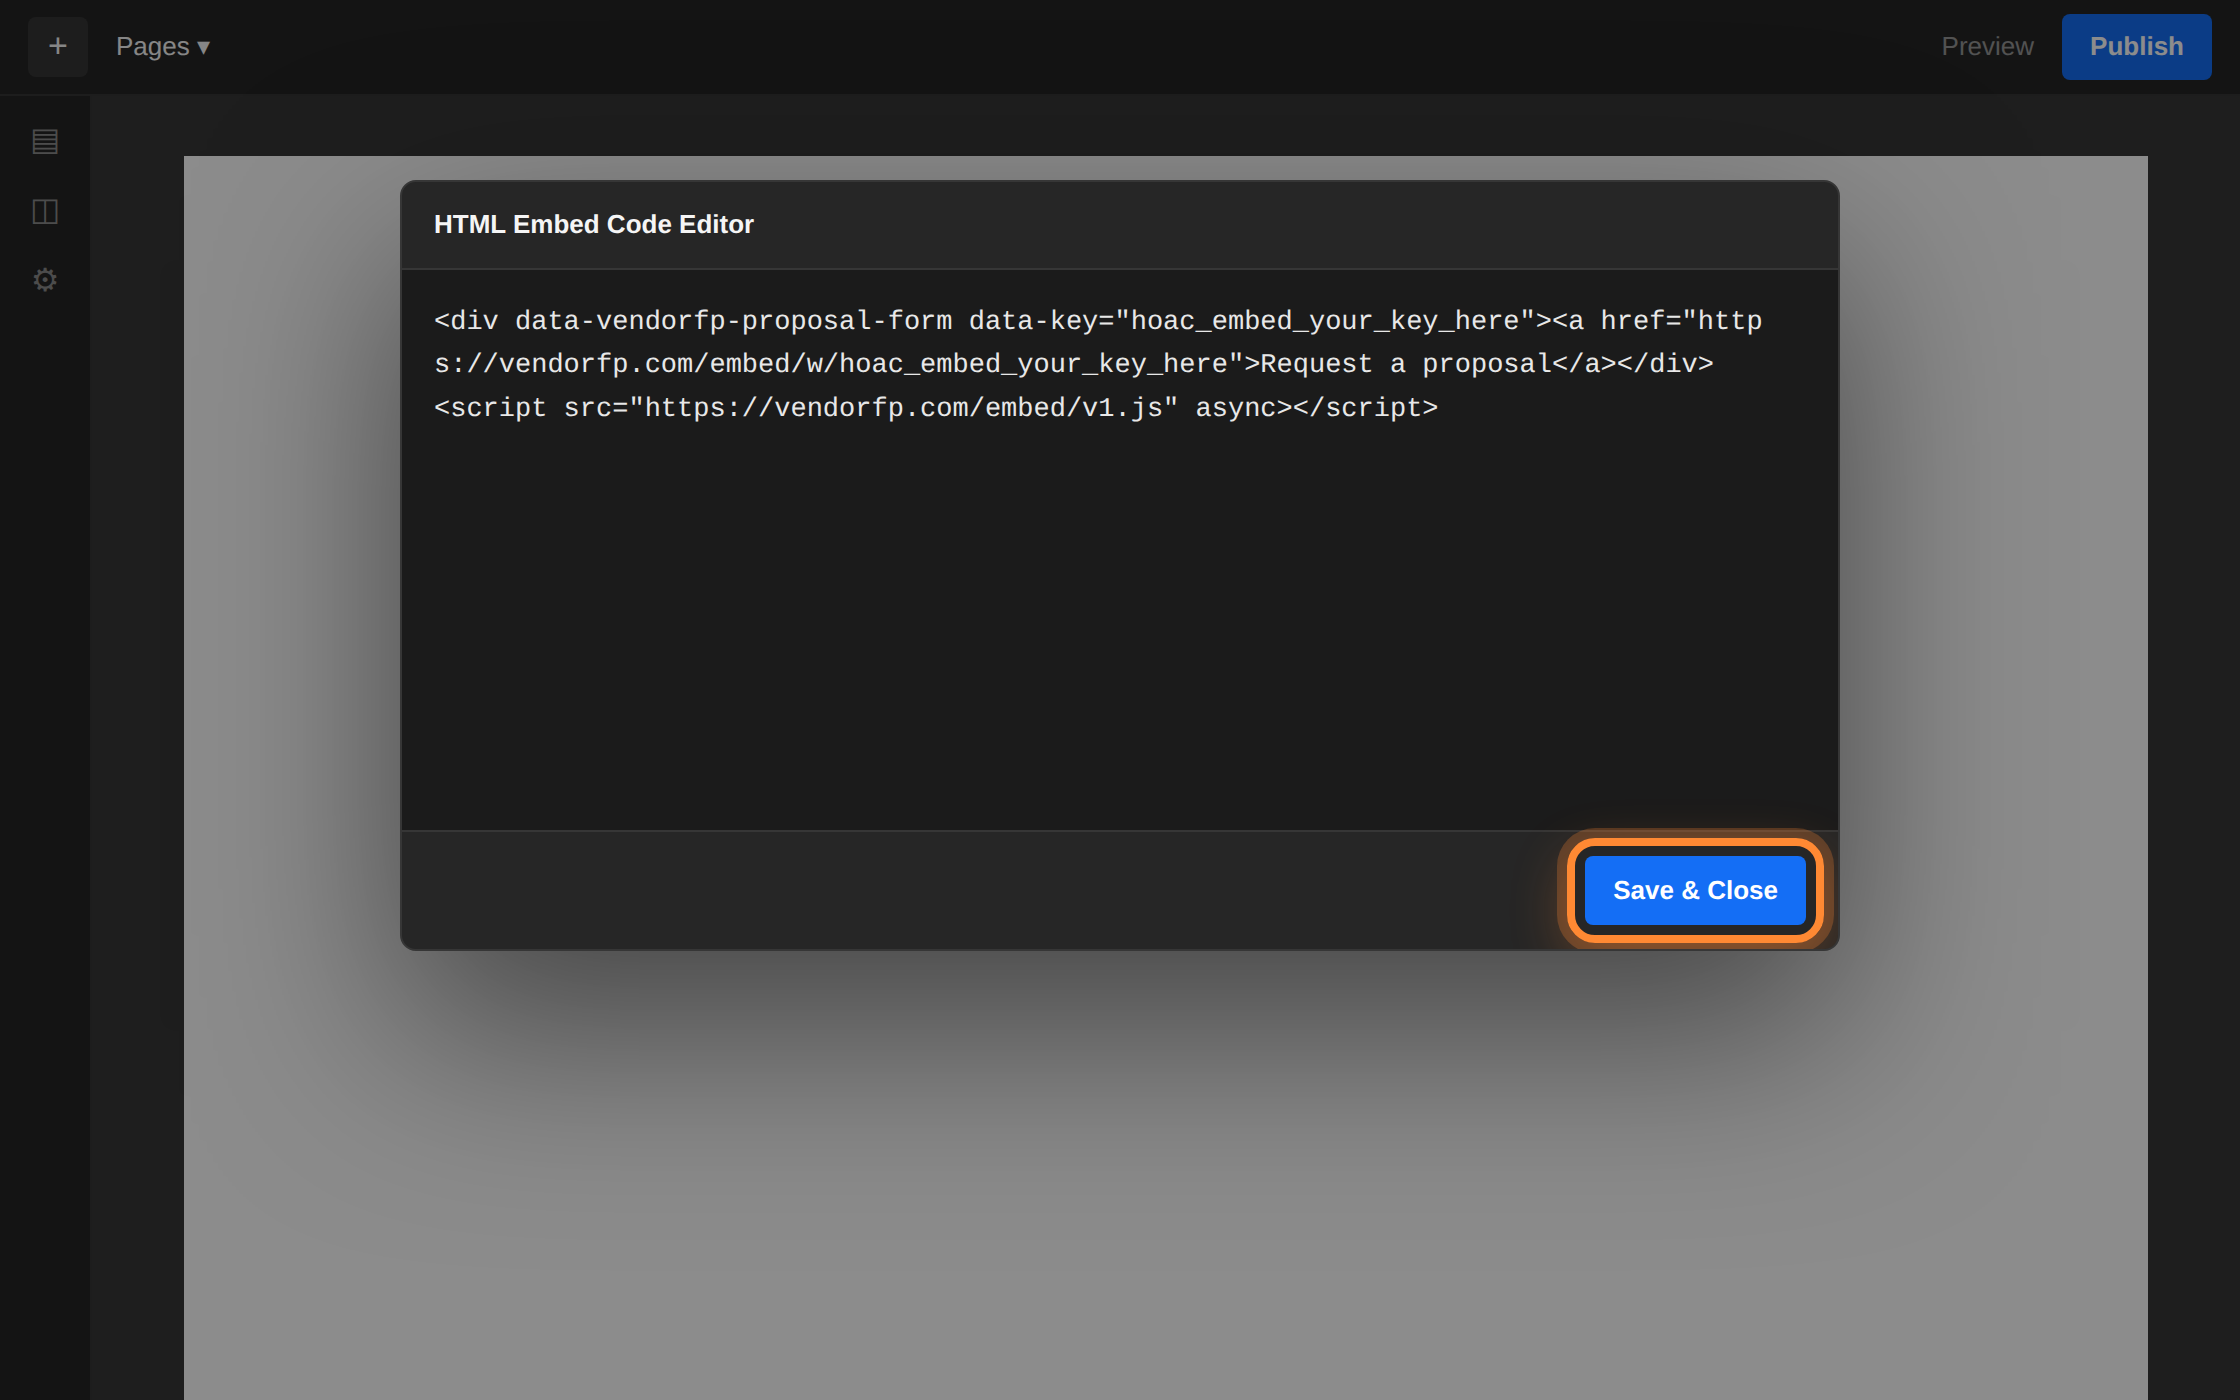
Save and Close is the bottom right of the code editor. Publish
Press Publish and choose the domains to publish to. The form appears on the published site.
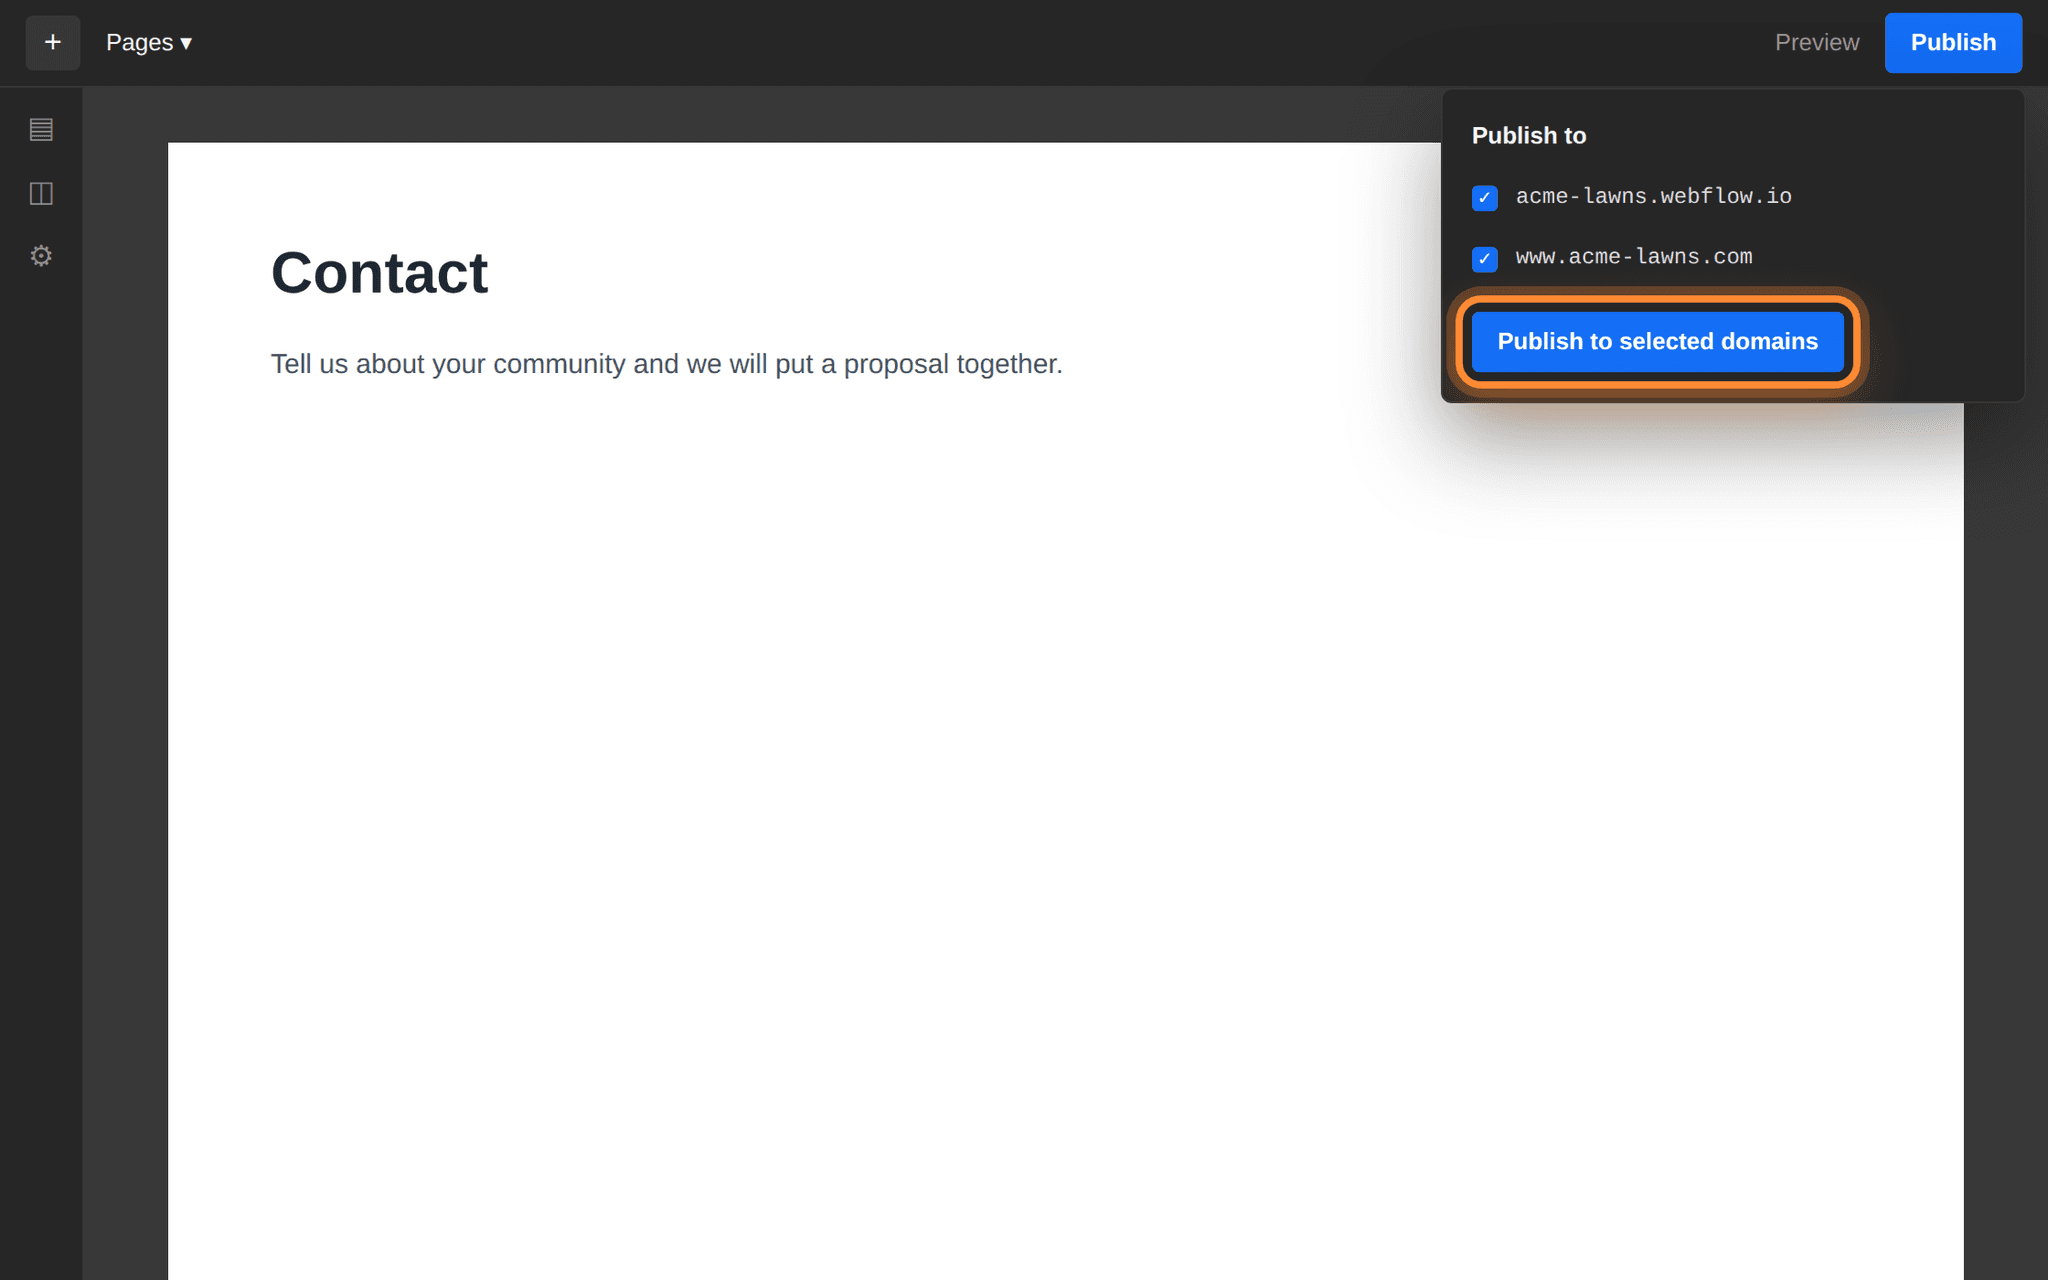
Both addresses are listed here, and each is a separate address to register.
Register both spellings of your address.
acme-lawns.com and www.acme-lawns.com are two different places. If your site answers on both, list both on the plugin page. The same goes for http:// against https://. This is the reason behind almost every form that never appears.Register your staging address too
Every Webflow project also answers at an address ending in .webflow.io, and that is where most people look first after publishing. It is a different web address from your real domain, so a form that draws on acme-lawns.com shows the fallback button, not the form, on acme-lawns.webflow.io unless you have listed both.
Add your .webflow.io address on the plugin page while you are building, and take it off once the site is live if you would rather keep the list short. Removing it takes effect on the next page load and does not touch anything on the site itself.
Three addresses is normal here.
www. in front. You have room for 10 on one key.How to tell it worked
- Open the published page, not the Designer preview, which still shows the placeholder.
- The form is there with your company’s name on it. Send a test, taking more than a few seconds over it: a submission completed unusually fast is placed under suspected spam.
- Open Settings → Website plugin in your VendoRFP dashboard. Your test is in the list.
If your site has a security policy
Most websites have no Content-Security-Policy and this section does not apply to them. If yours has one — a security plugin added it, your host sets it, or whoever built the site wrote one — it needs to allow two things from us:
script-src  https://hoacrew.com
frame-src   https://hoacrew.com
The first lets the loader script run. The second lets the form’s frame render. Allow the first and forget the second and you get a blank space where the form should be, with a line in the browser’s Console tab naming frame-src. Nothing else is needed: the form loads no fonts, no analytics and no other company’s code, so there is no third allowance hiding behind these two.
Webflow does not give you a place to set one, so this only comes up if your domain is behind something you added yourself, typically a Cloudflare rule that adds headers as pages leave.
Link to the hosted form instead
Every key also has a plain web address that opens the same form as a full page. Put it behind any button, in an email signature, on a Google Business profile, or on a page you cannot add code to.
https://hoacrew.com/embed/w/vrfp_embed_your_key_here
It is the same form, sending to the same place, and requests from it arrive in your dashboard exactly like the ones from the embedded version.
In Webflow that is any Link Block or Button with its link type set to URL. No Embed element, no publish-and-check cycle, and no addresses to register. The list of allowed addresses governs where the form may be shown inside another page, and a link opens it as its own.